Before configuring the Zoola Block to connect your LMS to Zoola (including activating Zoola users), you must first install the Zoola plugin on your Moodle or Totara LMS site. To install the plugin, you must have Write access to the Moodle / Totara LMS repository.
The Zoola Plugins can be installed by either FTP or the Moodle / Totara LMS user interface.
To install Zoola through FTP, complete the following steps:
- Unzip the following ZIP files:
- analytika.zip
- analytika_reports.zip
- lambda_dedication.zip
- lambda_time_tracker.zip
- lambda_timespent.zip
- course_time_tracker.zip
- Access your Moodle / Totara LMS repository via FTP.
- In the /blocks folder, place the following unzipped files:
- analytika
- analytika_reports
- course_time_tracker
- In the /local folder, place the following unzipped files:
- lambda_dedication
- lambda_time_tracker
- In the /availability folder, place the unzipped lambda_timespent file.
To install Zoola through the Moodle or Totara LMS user interface, complete the following steps:
- Ensure that you have the following ZIP files:
- analytika.zip
- analytika_reports.zip
- lambda_dedication.zip
- lambda_time_tracker.zip
- lambda_timespent.zip
- course_time_tracker.zip
- Log in to your Moodle or Totara LMS site as an Administrator.
- Navigate to Site Administration > Plugins > Install Plugins:
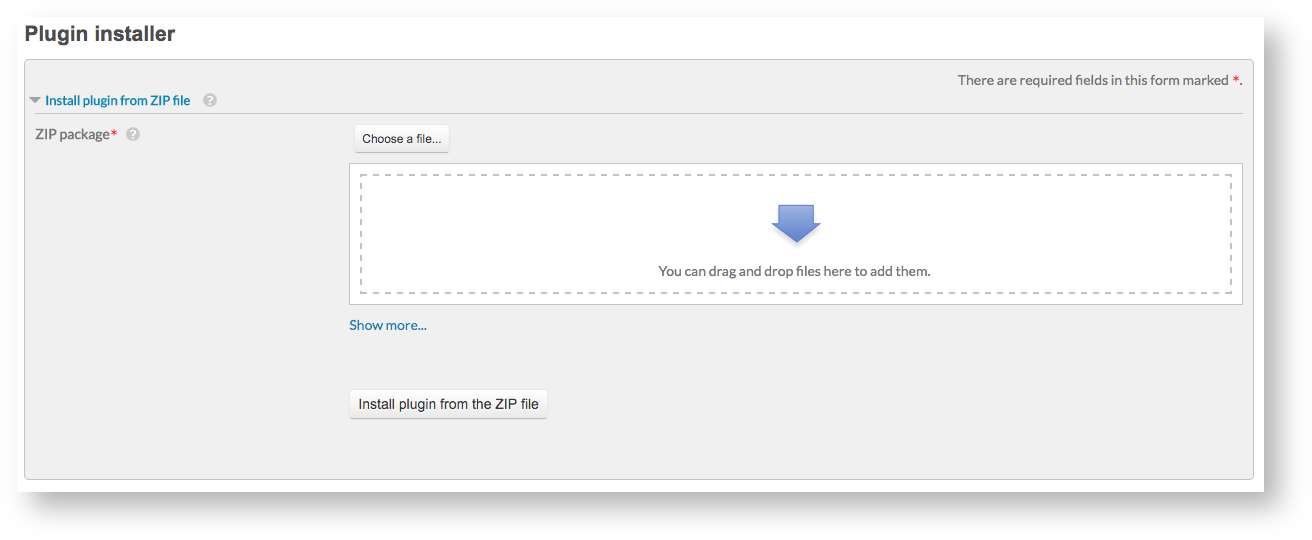
- In the Install Plugin from ZIP file section, complete one of the following steps for each ZIP file, separately:
- To open a file explorer to choose files from your computer, click Choose a File. An explorer will open, in which you can select a ZIP file to upload.
- If you have the necessary ZIP files on hand, you can drag and drop them directly into the upload section directly below the Choose a File button.
- After selecting and uploading a ZIP file, click the Install Plugin from the ZIP File button.
- The system will attempt to validate the ZIP to ensure compatibility.
- If the validation fails, you will be presented with the Validation Failure screen:
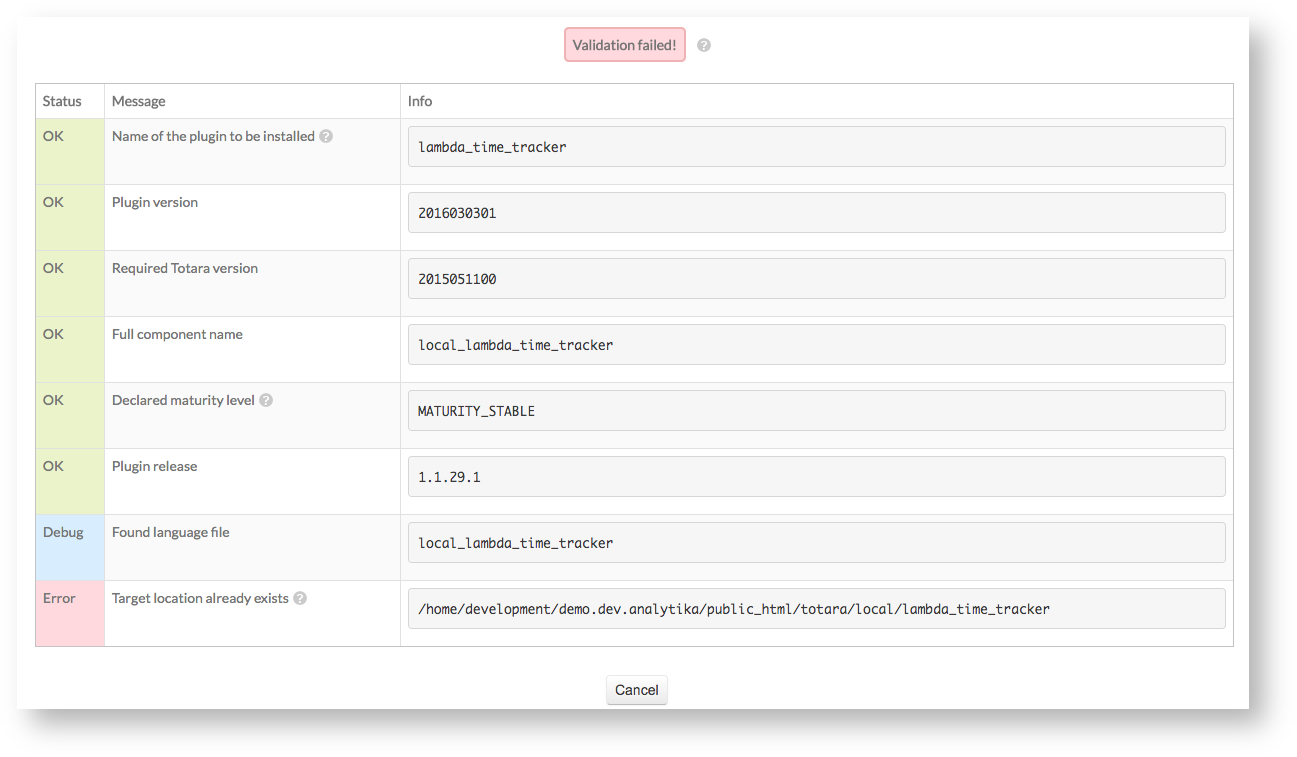
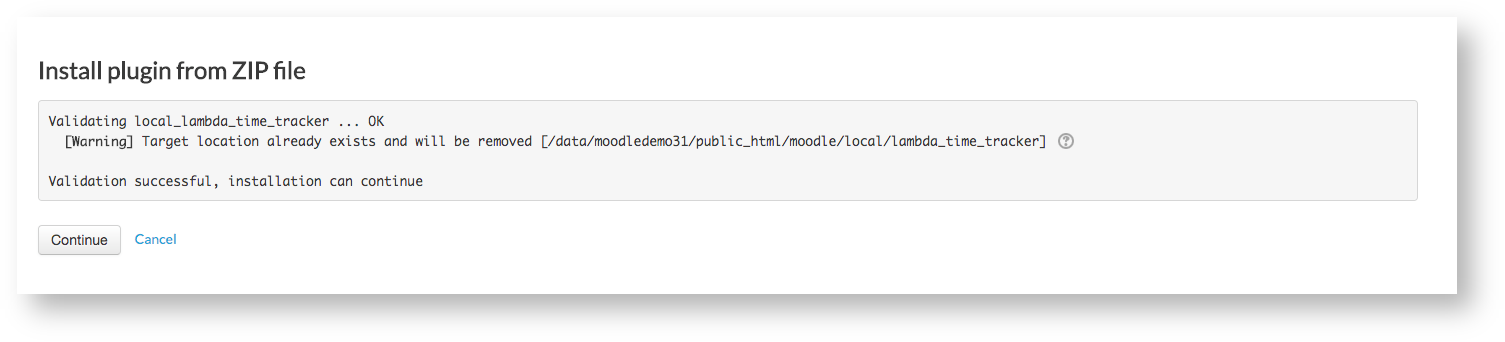
If an element of the ZIP file does not pass validation, the details will be presented on this screen. Based on the listed commentary, alter your package and repeat the installation process. - If the validation is successful, you will be presented with the Validation Success screen:
- If the validation fails, you will be presented with the Validation Failure screen:
- On the Validation Success screen, click Continue to complete the installation.
- Repeat steps 4 - 7 until all identified plugin ZIP files have been installed.