Lambda Zoola connects to your LMS as a plugin - to begin using Lambda Zoola, you must first configure the plugin block.
This assumes that you have correctly installed the plugin in either the '/blocks' folder (using FTP or SSH), or that you have installed the plugin through the LMS interface by navigating to Site Administration > Plugins > Install Plugins and selected Block from the Plugin Type dropdown list.
To properly configure the Zoola plugin, you must have the following information on-hand (provided to you by Lambda Solutions):
- The Backend API Key: a sixteen alphanumeric character code used to connect your LMS to the Zoola app.
- The Backend URL: the main Zoola URL (https://zoola.io/app)
- The Organization ID: the ID assigned to your organization to connect your LMS data to the Zoola database.
After you have installed the Zoola plugin, complete the following steps to configure the plugin and add the block:
- In the Administration block, navigate to Front Page Settings and select to Turn Editing On.
- In the Administration block, navigate to Site Administration > Plugins > Blocks and select Lambda Zoola. The Lambda Zoola Block Settings page opens:
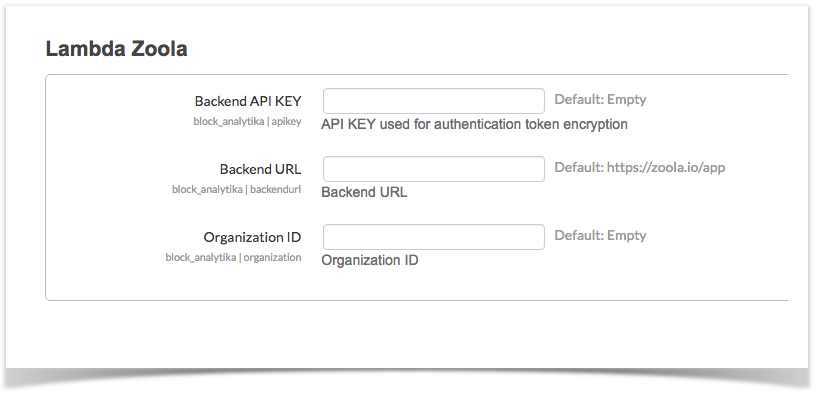
- Complete the Backend API KEY, Backend URL,and the Organization ID fields with the information provided to you by Lambda Solutions.
- Click the Save Changes button to save your block configurations.
- Navigate to your LMS Homepage.
- Open the dropdown list in the Add Block block, and select Lambda Zoola. This only has to be completed once by the LMS Administrator.
Once these changes have been saved, any LMS user who has been granted a Zoola Role in your LMS system will see the Lambda Zoola block, and be able to launch Zoola directly from their LMS. To connect users to Zoola, follow the instructions in Connecting to Zoola.