In creating a Manager View, you may wish to enable a new Zoola™ user. This optional step walks you through assigning the necessary roles in Moodle/Totara to grant a user access to Zoola™ for the specific needs of the Manager View.
To enable a Totara/Moodle user to access Zoola™ for the Manager View, complete the following steps:
Log in to Moodle/Totara as an Administrator.
From the Administration block, navigate to Site Administration > Users > Permissions > Assign system roles. The Assign Roles in System page appears.
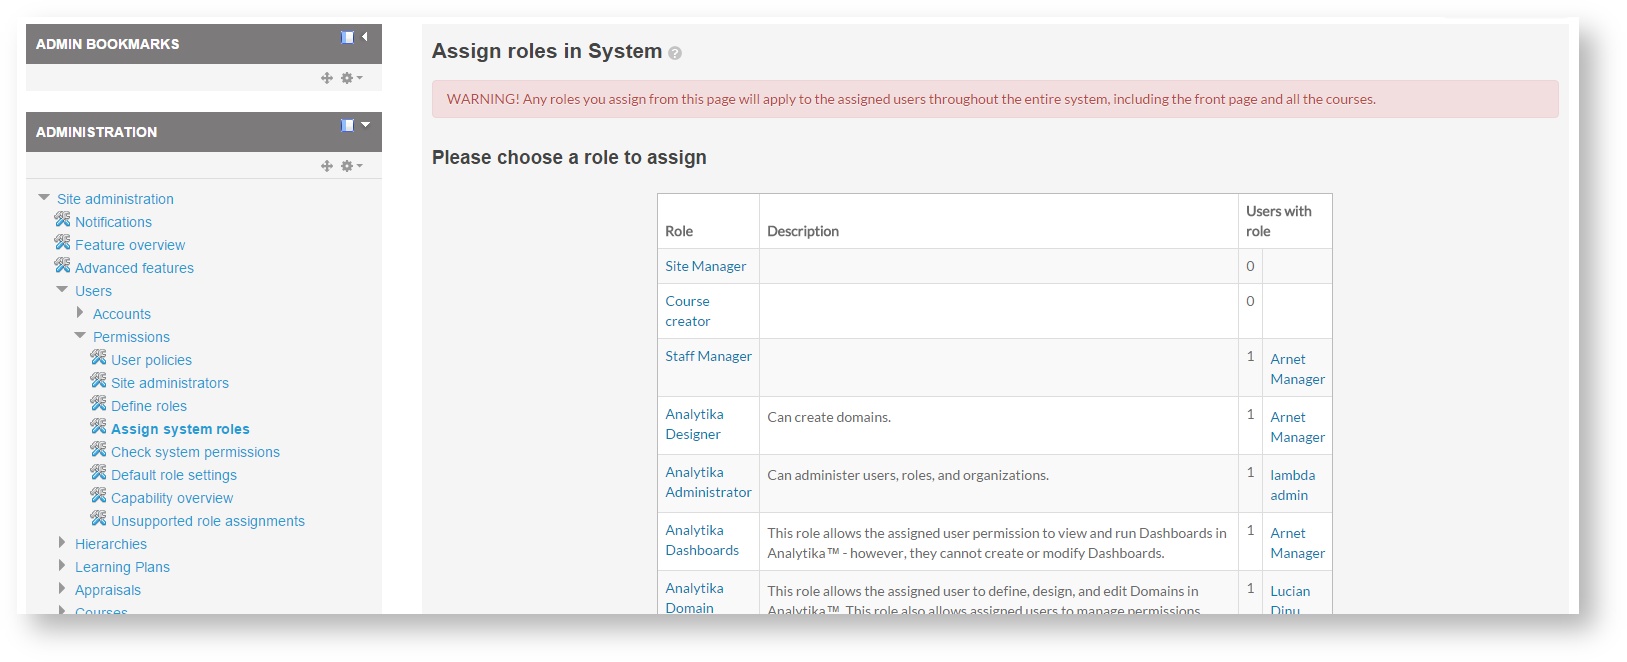
From the Role column, select the Zoola Public Execute role. The Manager View user needs only to run Reports, not create or modify. A new page with the heading Assign role 'Zoola Public Execute' in System opens
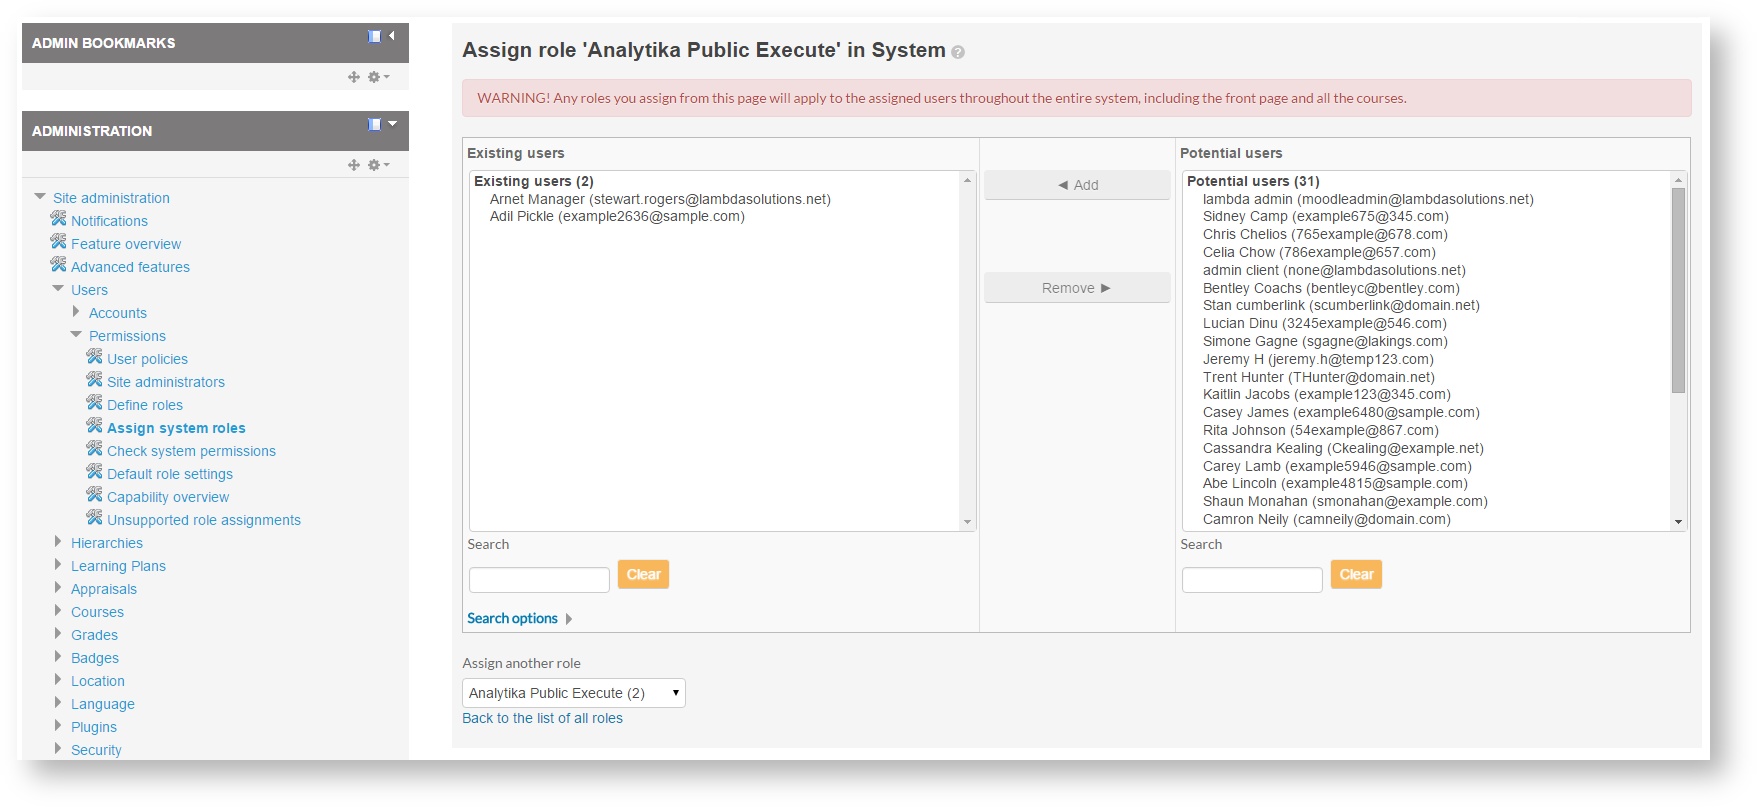
In the Potential Users panel, search for and select the appropriate user for whom you wish to create the Manager View.
In the central column, click the Add button. The selected user is now listed in the Existing Users column.
From the Assign another role list (located below the Existing users panel), select the Zoola Reports role. Repeat steps 5-6 to apply this role to the selected user.
The selected user now has the following permissions:
Zoola Public Execute: This role enables the user to execute Reports, Dashboards, and Ad Hoc Views in Zoola that contain components from the Public folder of the Repository. However, this role does not permit the assigned user to view the Public items themselves in the Repository.
Zoola Reports: This role enables the assigned user to view and run Reports in Zoola . However, this role does not permit the user to create or modify Reports or Ad Hoc Views.
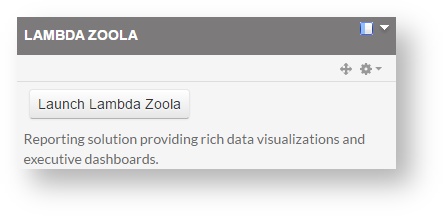
The selected user will now see the Lambda Zoola block when they log in to Moodle/Totara:
Now that you have enabled the user intended to use the Manager View, you can continue to Step 2: Copy the Domain to a Private Folder to begin configuring the Domain.