There are three ways to access the Add New Data Source page:
On the Home page, Click Create > Data Source.
On the Home page, click the Create button in the Data Source block.
On the Repository page, right-click a folder and choose Add Resource > Data Source.
The Add New Data Source page is where you can set up the basic properties of the Data Source, including its name and data source. This page is also your access point to the Data Source Designer. The Add New Data Source page allows you to specify the following components of the Data Source:
Name: Specify the name for the Data Source that users will see in the repository.
Resource ID: Enter a resource ID or accept the default entry. If you choose to enter a new ID, note that you cannot use any spaces.
Description: Specify the description that will appear in the repository and in the Ad Hoc Editor when users create a report using the Data Source.
Save Location: Browse to the repository folder where you want to save the Data Source. The last folder selected in the repository will be the default save location.
Data Source: Browse the repository to choose a data source from the list of data sources in your organization.
Data Source Design: Create the design using the Data Source Designer console, or upload a Data Source design file from outside the repository.
Optional Information: Specify a security file and one or more locale bundles.
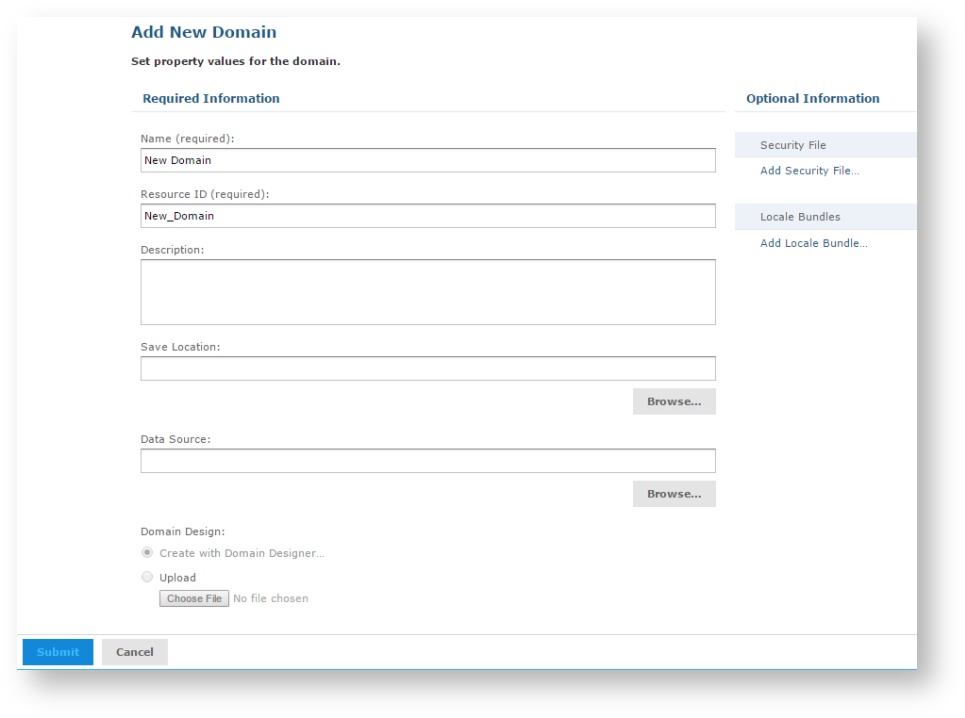
To exit the page without saving your changes, click the Cancel button.
To validate and save your Data Source components, click the Submit button.