In this section of the Cascading Input Controls case study, we will bring together the Course Categories Input Control with the Cascading Course Input Control and insert them into a Report.
For the purposes of this case study, we will apply the Input Controls to the Report described in Case Study: Cascading Input Controls.
To add Cascading Input Controls to a Report, complete the following steps:
- In the Repository, identify the Report to which you intend to add the Cascading Input Controls.
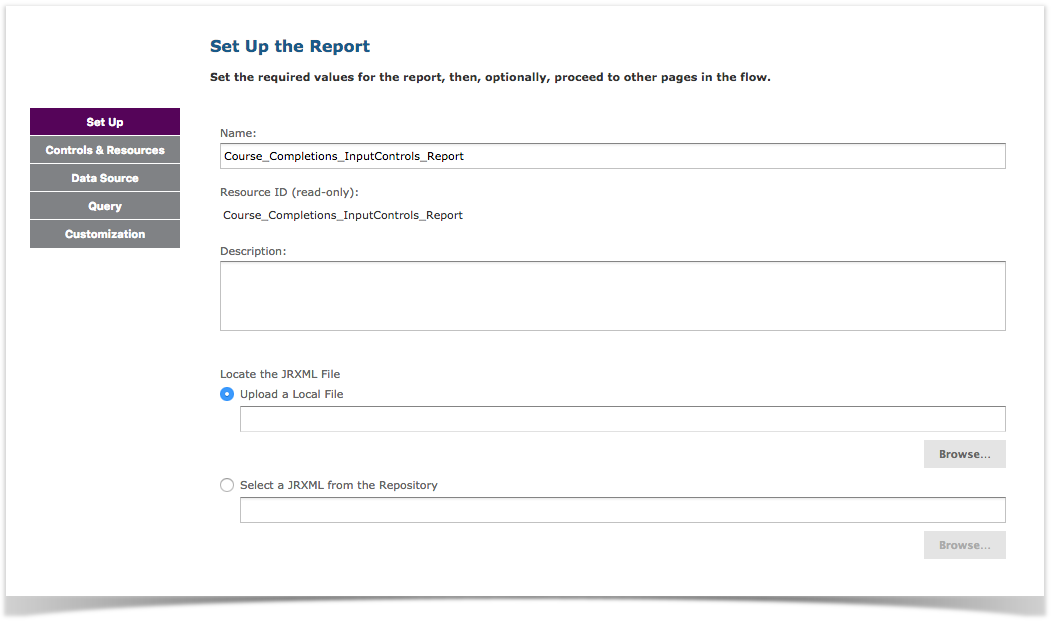
- Right-click the Report and select Edit. The Set Up the Report screen appears:
- From the left-hand panel, select Controls & Resources to open the Controls & Resources screen:
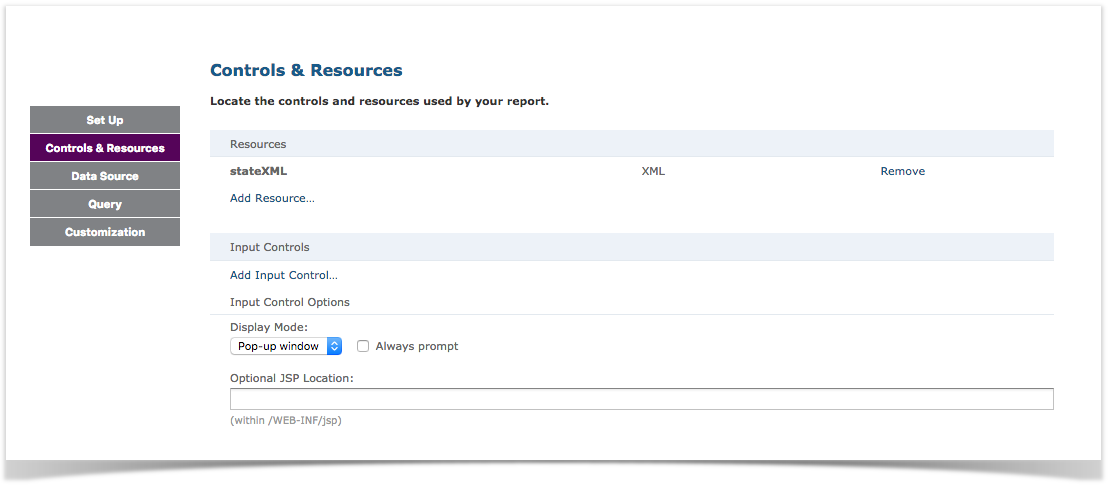
- Underneath the Input Controls heading, click Add Input Control. The Locate Input Control screen appears:
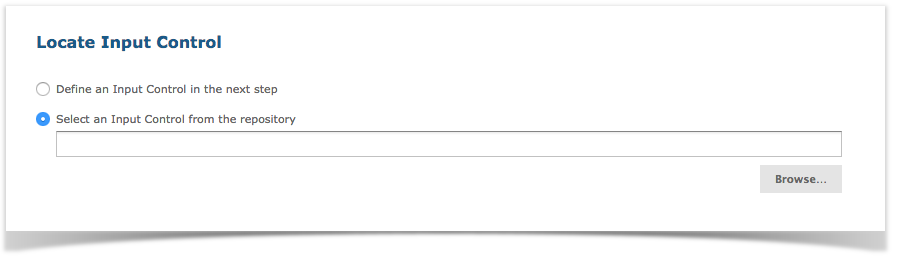
- Ensure that Select an Input Control from the Repository is selected.
- Click the Browse button, and use the File Explorer to identify the Custom Input Controls folder.
- Select the Course Categories Input Control.
- Click Next. You will return to the Controls & Resources screen.
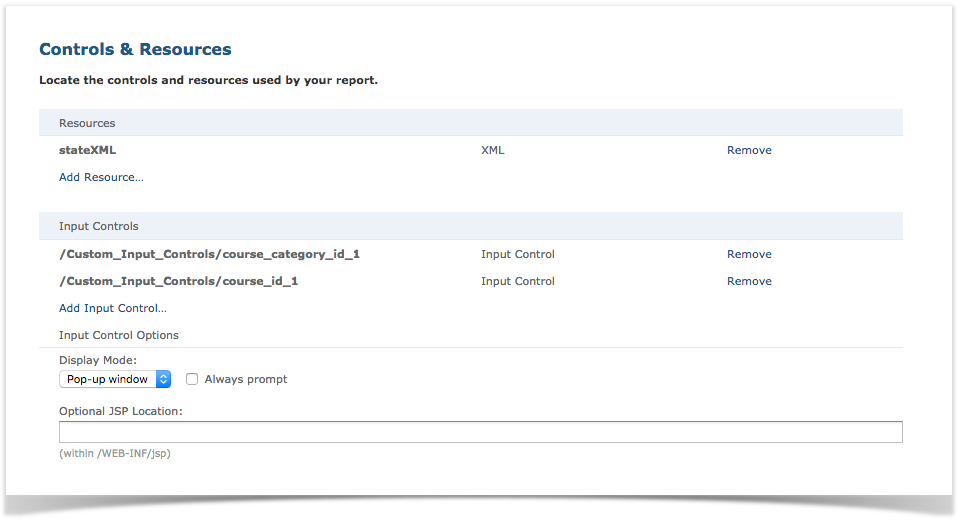
- Repeat Steps 4,5,6,7, and 8 to select the Cascading Course Input Control. When you return to the Controls & Resources screen, you should see the Course Categories Input Control and the Cascading Course Input Control stacked in order underneath the Input Controls heading, identified by file path:
- From the Display Mode list, select Pop-up Window.
- Select Always Prompt. When selected, this instructs the system to force the user to enter values into the Input Controls before running the Report.
- Click Submit.
Now, when you run the Report, the Cascading Input Controls will appear as a pop-up window prompt: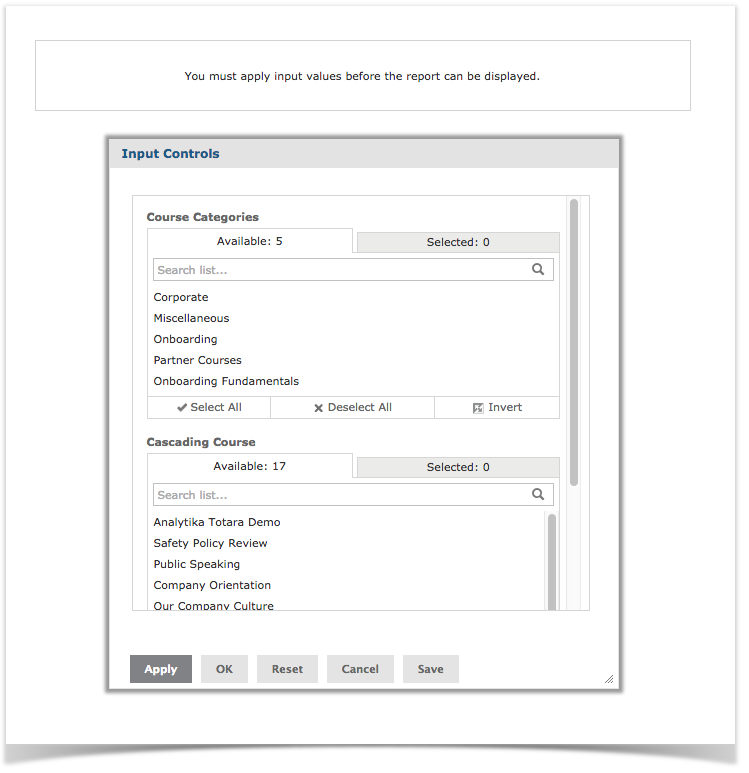
In the Cascading Input Controls shown above, any selections made in the Course Categories Input Control will constrain the available values in the Cascading Course Input Control.
Also, note the following:
- Selecting 'fullname' as the visible variable allows the Input Control to show the course fullname values in the Cascading Courses Input Control.
- The specified Prompt Text appears in the Input Control as a title.